
Installing a window yourself can be a complex task, but here’s a general guide to help:
Tools and Materials Needed:
- New Window: Ensure it fits the opening and suits your needs.
- Safety Gear: Gloves, goggles, and a mask.
- Tools: Screwdriver, pry bar, hammer, tape measure, level, shims, caulking gun, and screws.
Steps for Window Installation:
1. Preparation:
- Measure the Opening: Ensure accurate measurements for the new window to fit precisely.
- Remove Old Window: Carefully remove the existing window by unscrewing and prying off the trim and sashes.
2. Prepare the Opening:
- Clean and Inspect: Remove any debris and check for damage or rot in the window frame. Repair as needed.
- Apply Flashing Tape or Sealant: Install flashing tape or apply a waterproof sealant around the frame.
3. Install the New Window:
- Fit the Window: Carefully place the new window into the opening, ensuring it’s centered and level.
- Secure the Window: Use shims to level the window and ensure it’s square. Secure it by screwing it into place.
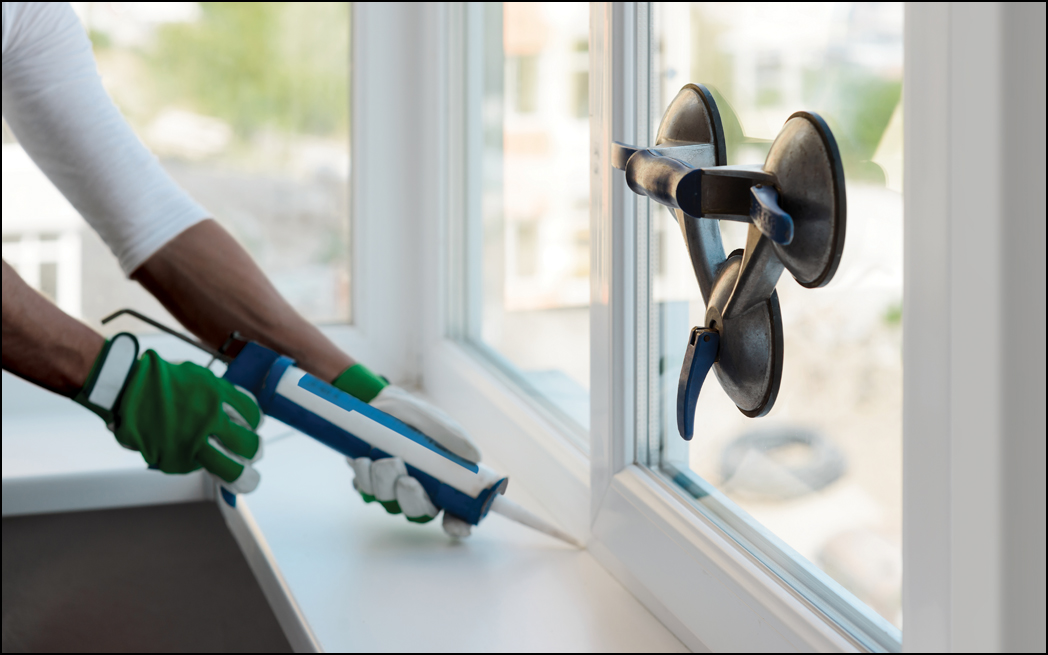
4. Insulate and Seal:
- Insulate Gaps: Fill any gaps between the frame and wall with expanding foam insulation.
- Apply Caulk: Seal the edges with caulking to prevent drafts or water seepage.
5. Finishing Touches:
- Reattach Trim: Replace the exterior and interior trim around the window.
- Test the Window: Open and close the window to ensure it operates correctly.
6. Check Alignment and Operation:
- Ensure Alignment: Double-check the alignment of the window within the frame to guarantee it sits level and operates smoothly.
- Operational Test: Test the window by opening and closing it multiple times to confirm functionality.
7. Apply Exterior Finishing:
- Exterior Trim: Add exterior trim or casing around the window frame, ensuring it’s properly secured and sealed.
- Weatherproofing: Apply weatherproofing materials, such as exterior caulking or sealant, to protect against moisture and drafts.
8. Interior Finishing:
- Interior Trim Installation: Place interior trim or casing around the window frame, securing it firmly in place.
- Sealing Gaps: Fill any remaining gaps between the trim and the wall with caulking or sealant for a finished appearance and added insulation.
9. Clean-Up and Inspection:
- Clean the Area: Remove any debris or excess materials from the installation site.
- Inspection: Conduct a final inspection of the installed window to ensure all components are properly secured and sealed.
10. Follow-Up Maintenance:
- Regular Maintenance: Periodically inspect the window for any signs of damage, deterioration, or air leaks.
- Address Issues Promptly: If any issues arise, address them promptly to maintain the window’s integrity and efficiency.
Additional Considerations:
- Permit Requirements: Check local regulations—some areas might require permits or adherence to specific building codes for window installations.
- Complexity of the Task: Installing windows can vary in difficulty based on the type of window, frame material, and the condition of the existing opening. Seek professional assistance for complex installations or if unsure about the process.
Important Tips:
- Follow Manufacturer’s Instructions: Adhere to the specific guidelines provided with the window.
- Safety First: Work cautiously, especially when handling glass or using tools at heights.
- Seek Assistance if Unsure: If uncomfortable with any step, consider consulting a professional for assistance or advice.
Conclusion:
Installing a window yourself requires careful attention to detail, accurate measurements, and proper sealing for insulation. While this guide offers an overview, it’s crucial to follow specific instructions provided with your window and prioritize safety throughout the process.