The Destiny 2 Symphony of Death Sidequest Guide
• You must complete the “Shadowkeep Campaign” mission to unlock the “Symphony of Death.”
• Once you’ve completed the Shadowkeep Campaign, head over to the Lost Sectors on the Moon.
• Loot all four Lost Sectors on the moon.
• Repair the broken necklace on Sai Mota’s shipwreck.
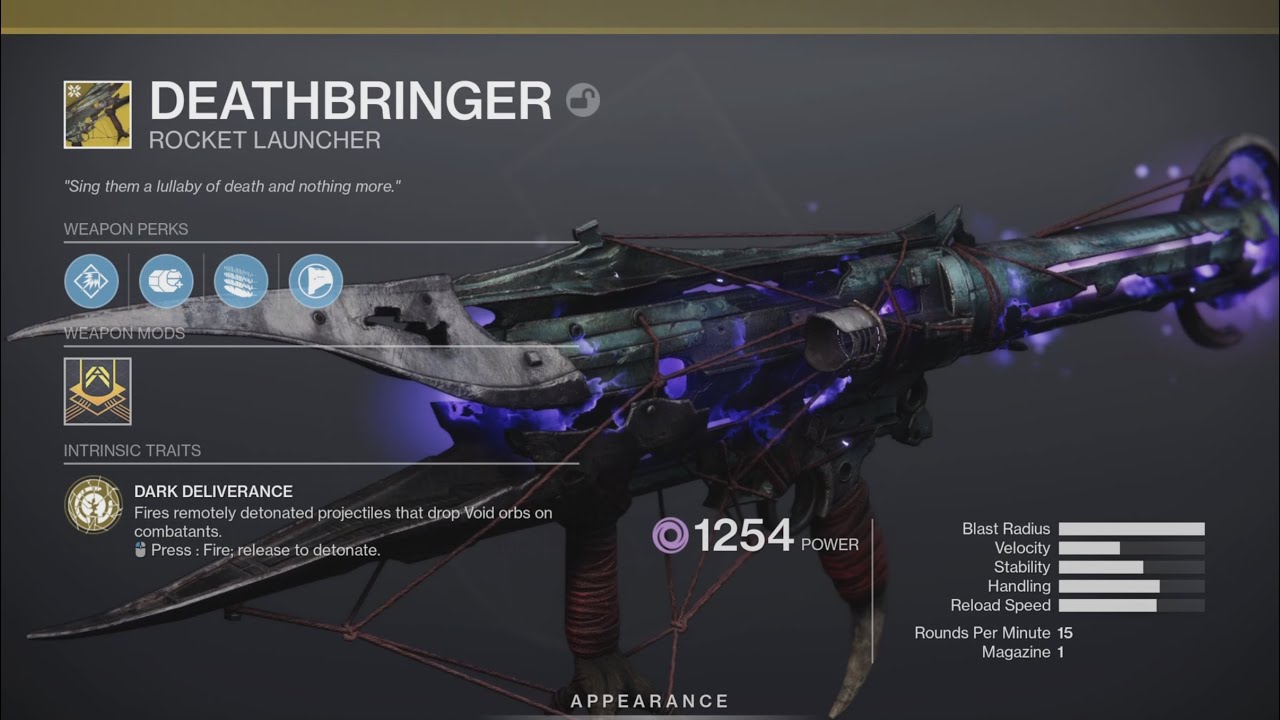
• After completing the Shadowkeep Campaign, you’ll receive the Deathbringer Rocket Launcher.
Destiny 2: Forsaken Expansion Pack
How to Complete the Symphony of Death Quest
The Symphony of Death Quest quest is one of the most challenging quests in Shadowkeep. You’ll need to play through the entire main campaign multiple times to unlock it. To start, you’ll want to finish all of the main campaign quests, then head over to the Sanctuary and speak to Eris Mornin about the Memory of Sai Mota. After completing the Memory of Sai Motta quest, return to Eris again and accept her Lunar Spelunkers bounty. Next, go out into the world and complete three Lost Sectors across K1 Communion, K1 Crew Quarters,and K1 Logistics. Once you’ve collected the Firewall Data Fragments, return to Eris and she’ll give you the Memory of Sai Mottawhen you’re ready to continue.
What Can the Deathbringer Exotic Rocket Launcher Do?
In Destiny 2, players are able to purchase the Deathbringer exotic rocket launcher from the Monument to Lost Light in the Tower. This gun fires rockets that split into multiple smaller projectiles for increased range and damage. With its intrinsic perk, Dark Deliverance, the Deathbringer launches rockets that can be detonated remotely, creating a larger explosion effect.
Other perks include Volatile Launch for improved accuracy, Alloy Casing for better durability, Dark Descent for increased damage per second, and Composite Stock for decreased recoil. However, the Deathbringer sacrifices handling speed as a compromise for the large blast radius.
How do I get the Luminal in Destiny 2?
The Lumina quest is no longer available in Destiny2, but the Lumina Hand Cannon can be purchased from the Monuments to Lost Lights in the tower. It has similar stats to the Deathbringer, but with less damage and more recoil.
Destiny 2: Symphony Of Death – How To Get All Legendary Weapons In The Game
This video will show you how to get ALL legendary weapons in Destiny 2: Forsaken.
Destiny 2: Symphony of Death quest guide – Metabomb
Our Destiny 2: Symphony of Destruction exotic quest guide covers everything you need to know about completing the Metabomb Exotic quest. This quest unlocks the Deathbringer rocket launcher, one of the most sought-after weapons in the game. We’ve got you covered, no matter what class you play.
The quest itself requires you to collect five pieces of data from around the world. You’ll need to do this while playing as a Warlock, Titan, Hunter, Vanguard, or Slayer. Once completed, you’ll receive a reward notification. From there, you’ll need to head over to the Tower of Trials where you’ll need to defeat three bosses in succession.
Once you’ve done that, you’ll be able to pick up the Deathbringer rocket launcher. There are a few different ways to go about doing this depending on your preferred playstyle. For example, you could use a Guardian subclass called the Sentinel. Or you could take advantage of the Warlock’s unique ability to summon demons. Either way, once you’ve collected all five pieces of data, you’ll be ready to start the quest.
If you want to find out more information about the Deathbringer rocket launcher check out our full review here.
Symphony of Death Quest Steps
Eris Morn believes that the answer to defeating the Hive lies in the Circle of Bones. She wants you to explore this area and find clues about how to defeat the Hive, but she needs help getting there. In return, she will reward you with information that could lead to a better understanding of the Hive.
The Circle of Bones is located deep underground on the Moon. To reach it, you must travel to the waypoint marked on the map and complete the quest “Faculties Of The Skull.” Once completed, you will receive a special item called the “Circle of Bones Key.” This key can unlock a secret entrance into the Circle of Bones. From here, you will encounter some dangerous enemies, including the Hive Queen herself.
Step 2: Visit Eris Morn
The Silent Skull that you previously acquired is now yours to keep. However, there are some additional steps that must be taken before you can use it. First, you must head over to Eris’ base on the moon and speak with her about your quest. She’ll ask you to bring her something called the Deathsong. Once she receives the item, she’ll tell you where to go next. Head to the location indicated and speak with the person named “Eris Morn.” She’ll give you the Deathsong, which you can take to the Silent Skull. If you’re having trouble finding the place, just look for a skull on the ground.
Step 3: Collect Bones and Marrow
Eris Morn understands what must be done and requires that players obtain three specific bones along with a special marrow that is needed for her weapon. She will ask that you find three specific items:
Festering Bone – Obtained by doing a public event near Hellmouth in the Moon sector.
Ritualistic Bone – Obtained by completing K1 Revelation lost sector in the Moon sector. This item cannot be purchased.
Bone Collector’s Marrow – Obtained by killing Bone Collector in the Anchor of Light sector. This item cannot been purchased.
Step 4: Slay High Conductor, Sulmakta in Scarlet Keep Strike
The next step is to complete the quest “Step 4: Slay High Conductors.” You must kill the High Conductors in the following locations:
– On the moon – Scarlet Keep Strike
– In the ruins of the Temple of the Sun – The Temple of the Sun
– In the ruins near the river – Riverbank Ruins
– In the ruins north of the temple – Northern Ruin
– In the ruins south of the temple – Southern Ruin
You’ll find the High Conductor in each location. When you’ve killed him, he drops a piece of equipment called the High Conductor. Use it to upgrade the High Conductor’s Blade.
Once you’ve upgraded the blade, you’re ready to go to the next step.
Step 5: Record the Screams of Your Enemies
The fifth step in creating a horror game is recording the screams of your enemies. This is where you start to see the difference between a good horror game and a great one. If you want to make a truly terrifying experience, you must record the screams of your enemies, because it is what makes the player feel like he/she is actually experiencing something real.
You will need to cause pain, destruction, and death to your enemies to collect the screams of your victims. In this way, you are providing the weapon with power. You will need to defeat opponents, elites, minibOSSs, bosses, and even guardians to progress with collecting a set of screams. You will have to complete full progress for each scream type to unlock the next.
Step 6: Defeat Deathsinger (Complete Choir of the Damned)
The time has come for you and your friends to obtain the Skull of the Deathsinger which is required for the new weapon. To do so, you must defeat the Deathsinger, Ir Airem. This boss fight takes place inside the Circle of Bones and requires you to navigate through several traps and enemies. Make sure to bring plenty of health potions and avoid getting hit too much because you will die easily without enough HP. Once you reach the end of the level, head towards the waypoint which indicates the location of the next mission. Complete it and return here again to receive the reward.
Step 7: Bring the Singing Skull to Eris Morn
The Death Singer’s skull is now yours. You’ve completed the new instrument of war, and it’s time to bring it to Eris Morn. Head back to Eris Morns’ home on the moon and accept her offer to take the skull to her. She’ll give you some directions on how to find her. Once there, talk to her again and ask about the next step. She’ll tell you where to go next.
Head back to the Moon and follow the instructions given. When you arrive at the location, talk to the woman named Lina. Accept the quest “Bring the Singing Skull to Lina.” Follow the directions and return to Eris Morn once you’re done.
How to unlock the Symphony of Death quest
To unlock the Symphony of Death you must complete all of the Shadow Keep campaign missions. Once you have completed those, talk to Eris morn at Sanctuary and she will give you a memory of sai mota pursuit. You now need to find the fire wall data fragment. For this you need to do 3 lost sectors. K1 communion, k1 crew quarters and k1 logistics. Once you have found all three of those, go to your quests tab in director and choose the completed bounty. Then go to the 4th and final lost sector called K1 revelation. Now you are ready to play the symphony of death.