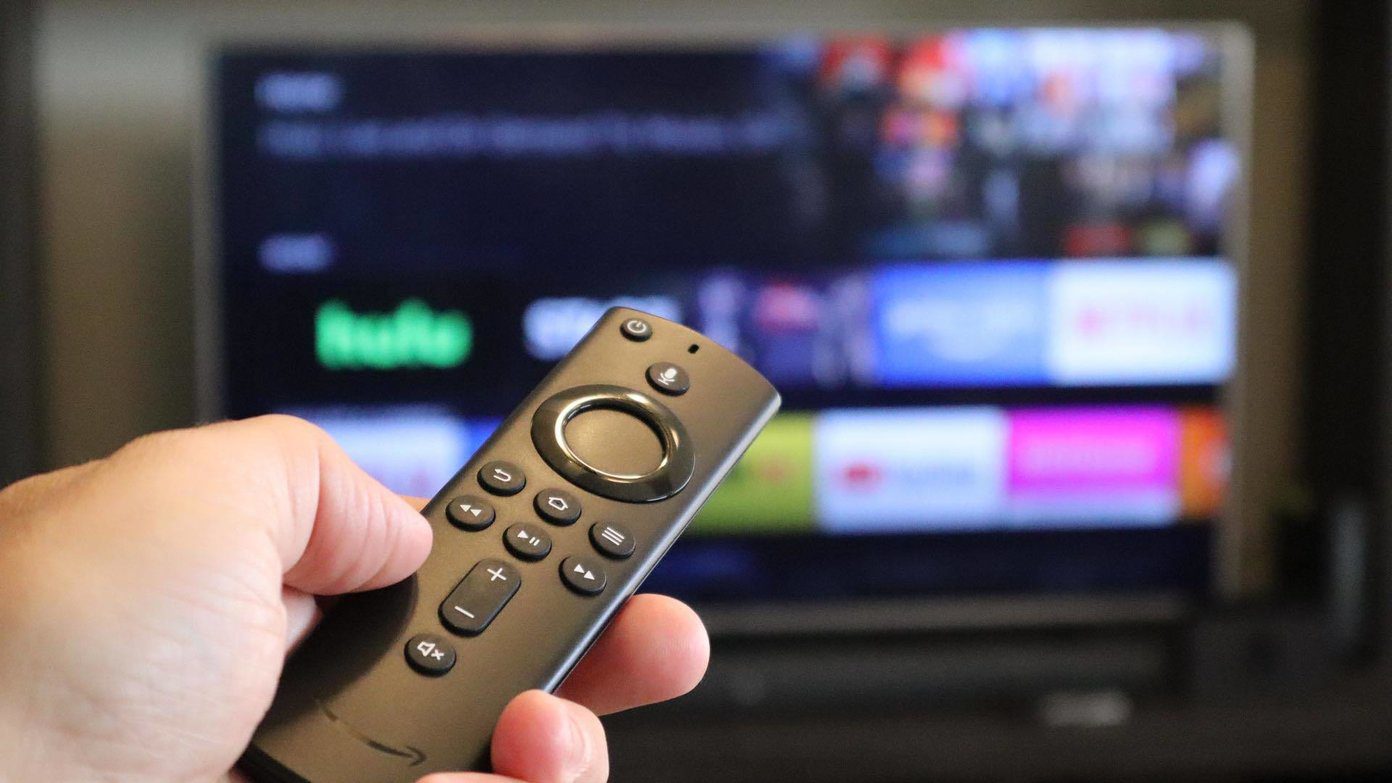
Using a Fire TV Stick remote can be incredibly useful and convenient when watching your favorite shows or movies, but there may come a time when you need to pair a new remote with the device. This can be especially true if the old remote has become damaged or non-functioning in some way. Fortunately, it is relatively easy to pair a new Amazon Fire TV Stick Remote without having access to the old one.
First, connect the power adapter of your Fire TV Stick into an electrical timeout and turn on the television then go to Settings > Controllers & Bluetooth Devices > Other Bluetooth Devices > Add Bluetooth Devices. Then press and hold down “Home” button on your new remoter for at least 10 seconds until its indicator light starts blinking. After that make sure your mobile phone does not have any Bluetooth connection active and open up Alexa app on your Android device, follow this path: Devices tab > Plus sign (+) in the top right corner of the screen > Set up device > have already set up > Fire TV/Stick/Cube -> Next -> Enter code displayed on screen.
Amazon Fire Stick is a popular streaming device that provides access to a wide range of entertainment content. However, if you’ve lost or damaged your old Fire Stick remote and need to pair a new one, you might wonder how to do it without the original remote. Fortunately, Amazon has made it relatively straightforward to pair a new Fire Stick remote, and in this comprehensive guide, we’ll walk you through the process step by step.
Why You Might Need to Pair a New Fire Stick Remote
Before we dive into the pairing process, it’s essential to understand why you might need to pair a new Fire Stick remote without the old one. There are several common scenarios:
- Lost or Damaged Remote: If your old Fire Stick remote is lost, broken, or simply not working, you’ll need to pair a new one to continue using your device.
- Upgrading to a Voice Remote: You may have decided to upgrade to a Fire Stick remote with voice control or other advanced features, which requires pairing the new remote with your Fire Stick.
- Additional Remote: Some users choose to add an extra remote to their Fire Stick setup for convenience. Pairing the new remote allows you to control the Fire Stick from multiple locations in your home.
Now, let’s explore how to pair a new Fire Stick remote without the old one.
Pairing a New Fire Stick Remote Without the Old One: Step-by-Step Guide
Follow these steps to pair a new Fire Stick remote without the old one:
Step 1: Gather Your Materials
Before you begin, ensure you have the following materials:
- A new Fire Stick remote with fresh batteries.
- Your Amazon Fire Stick device.
- A functioning TV with the Fire Stick connected to an HDMI port.
Step 2: Power On Your TV
Turn on your TV and switch it to the HDMI input where your Fire Stick is connected. Make sure the Fire Stick is properly powered by connecting it to a power source using the provided USB cable and power adapter.
Step 3: Insert Batteries
Insert fresh batteries into the new Fire Stick remote. Proper battery installation is essential for the remote to function correctly.
Step 4: Place the Remote in Pairing Mode
Within a minute or so, the Fire Stick will enter pairing mode, and a message will appear on the screen saying “Hold down the Home button for ten seconds to pair a new remote.” This is your cue to move to the next step.
Step 5: Initiate Pairing
Press and hold the “Home” button on the new remote for at least ten seconds. The “Home” button is the one with an icon resembling a house and is typically located near the top of the remote.
Step 6: Wait for Confirmation
Continue holding the “Home” button until you see a message on the screen confirming that the remote is pairing. The message will typically read something like “Remote connected.”
Step 7: Test the Remote
Once the pairing is successful, you can test the new remote by navigating through the Fire Stick’s menu and launching apps or content. Ensure that all functions work correctly.
Congratulations! You’ve successfully paired a new Fire Stick remote without the old one. You can now enjoy your favorite movies, TV shows, and streaming content with your upgraded or replacement remote.
Troubleshooting Tips
While the pairing process is generally straightforward, you may encounter some challenges along the way. Here are some troubleshooting tips to help you if you run into issues:
- Ensure Proper Battery Installation: Make sure you’ve correctly inserted the batteries into the remote, following the polarity markings inside the battery compartment.
- Check Battery Charge: Confirm that the batteries are not depleted and are providing sufficient power to the remote.
- Maintain Proximity: Keep the new remote close to the Fire Stick during the pairing process.
- Retry the Process: If the pairing fails initially, try the process again, making sure to follow each step carefully.
- Contact Amazon Support: If you continue to experience difficulties, consider reaching out to Amazon’s customer support for further assistance.
Conclusion
Pairing a new Fire Stick remote without the old one is a relatively straightforward process, allowing you to continue enjoying your favorite content with an upgraded or replacement remote. Whether you’ve lost your original remote, upgraded to a more advanced model, or simply need an additional remote for convenience, following the steps outlined in this guide should help you get your new remote up and running in no time.